Hey,
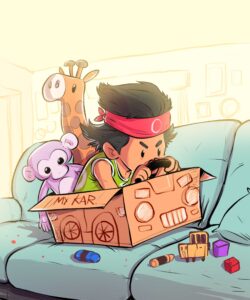
I’ve been making Mini comics for a while now (read em here) and I just put the first part of my 3 Part series on ‘Making Comics”
I know a lot of you are interested in making comics,
So, here’s a quick written breakdown of my process. 👇
Step 1: Story.
Step 2: Scope Planning.
Step 3: Thumbnail and Layouts.
Step 4: Character Design.
Step 5: Penciling & Wording.
Step 6: Inking.
Step 7: Colors.
Step 8: Wrap up and Printing.
Step 1: Get an Idea (aka, a Story)
You need a Story.
And here’s the thing – It shouldn’t be this grand 500 page sci-fi fantasy adventure. (hard to fit that into a mini comic) – So, you Need a Small story.
But First,
What is a Mini Comic?
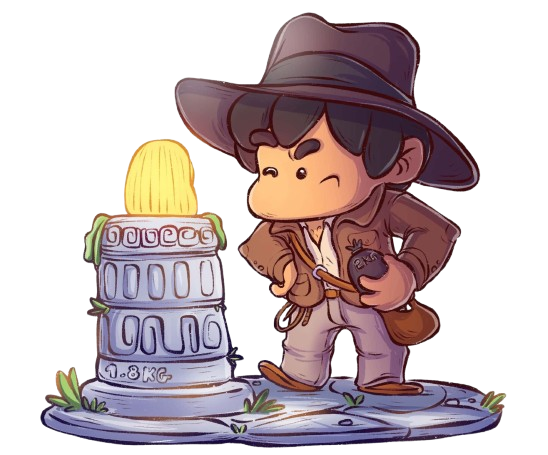
My definition of a Mini Comic is a Comic that’s anywhere between 5-10 Pages long. 📕
For this sort of a comic, the kind of story you need is a short and sweet one.
How?
Focus on 1 Scene ☝️
Where there is a Start, something happens in the middle and then there’s an End.
If you are starting to make your mini comic – focus on taking existing stories out there and putting your own spin on them. Its the easiest way to get started. 😌
Step 2: Scope & Planning
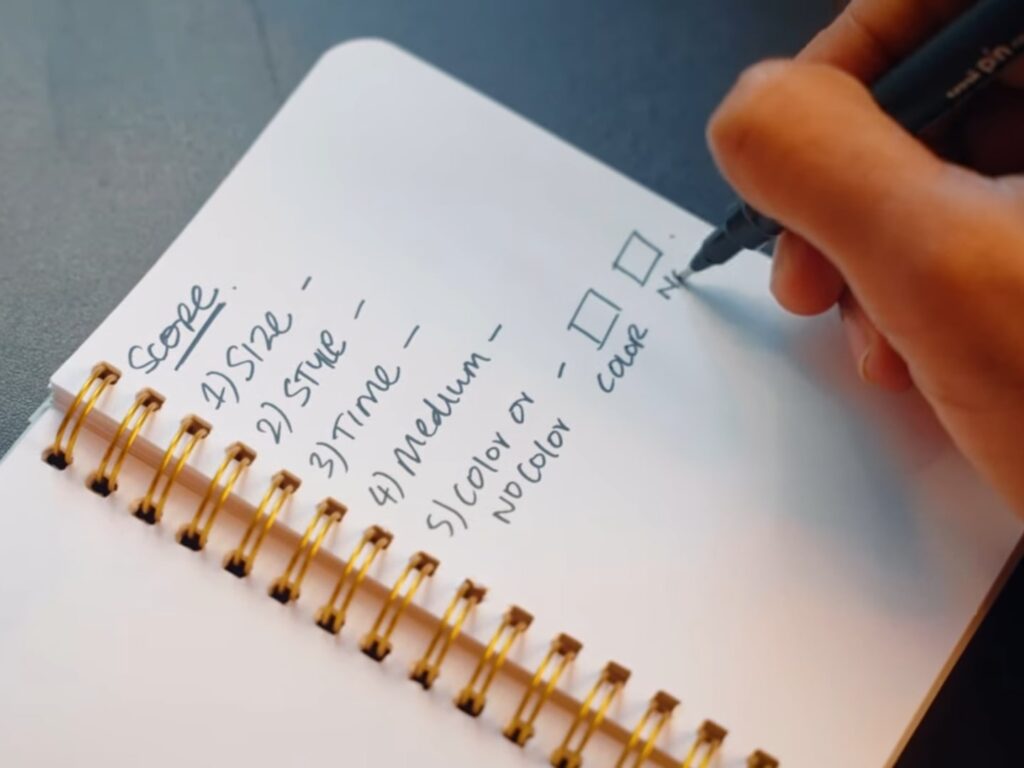
Once you’ve got your story, it’s time to plan. This is where I decide things like:
Page size and layout: What’s the ratio of the comic? I’m using a 1:1 ratio for my Current comic collection but you can use whatever works for you.
Style: What kind of art style will I use for my comic?
Time: How long do I want to spend on this comic? Ideally, 3-5 days.
Traditional or digital? Each choice will impact how much time and effort it takes to finish your comic.
All these decisions define the scope of your project, and the key is to keep it defined : so this “mini project” doesn’t get blown out of proportions! 🔑
Step 3: Thumbnailing & Layouts (The Fun Part!)
Here’s where the magic happens.
The Magic of Drawing. ✍️
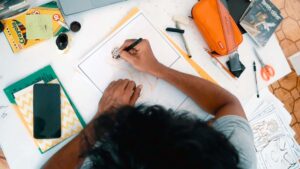
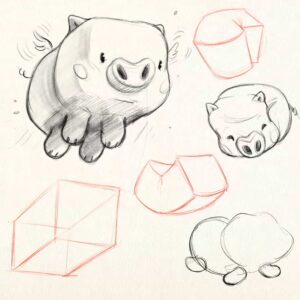
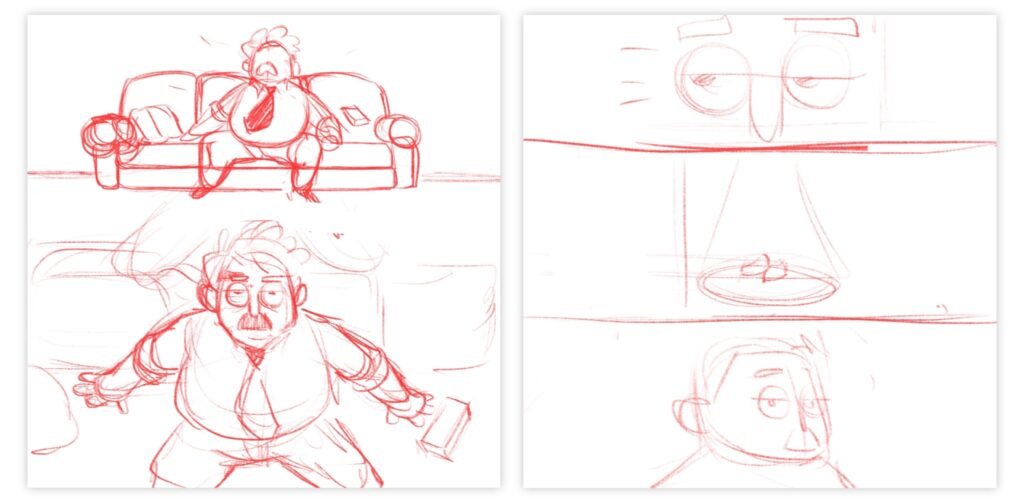
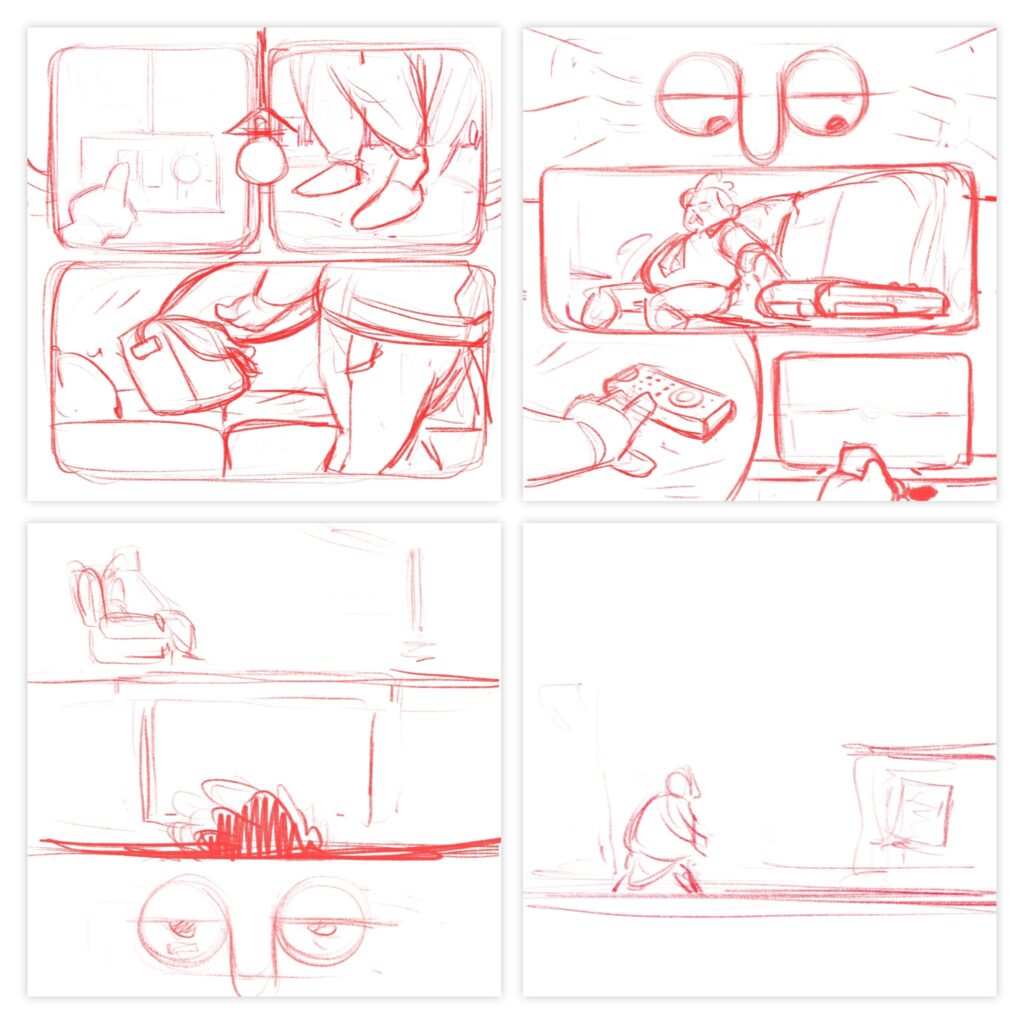
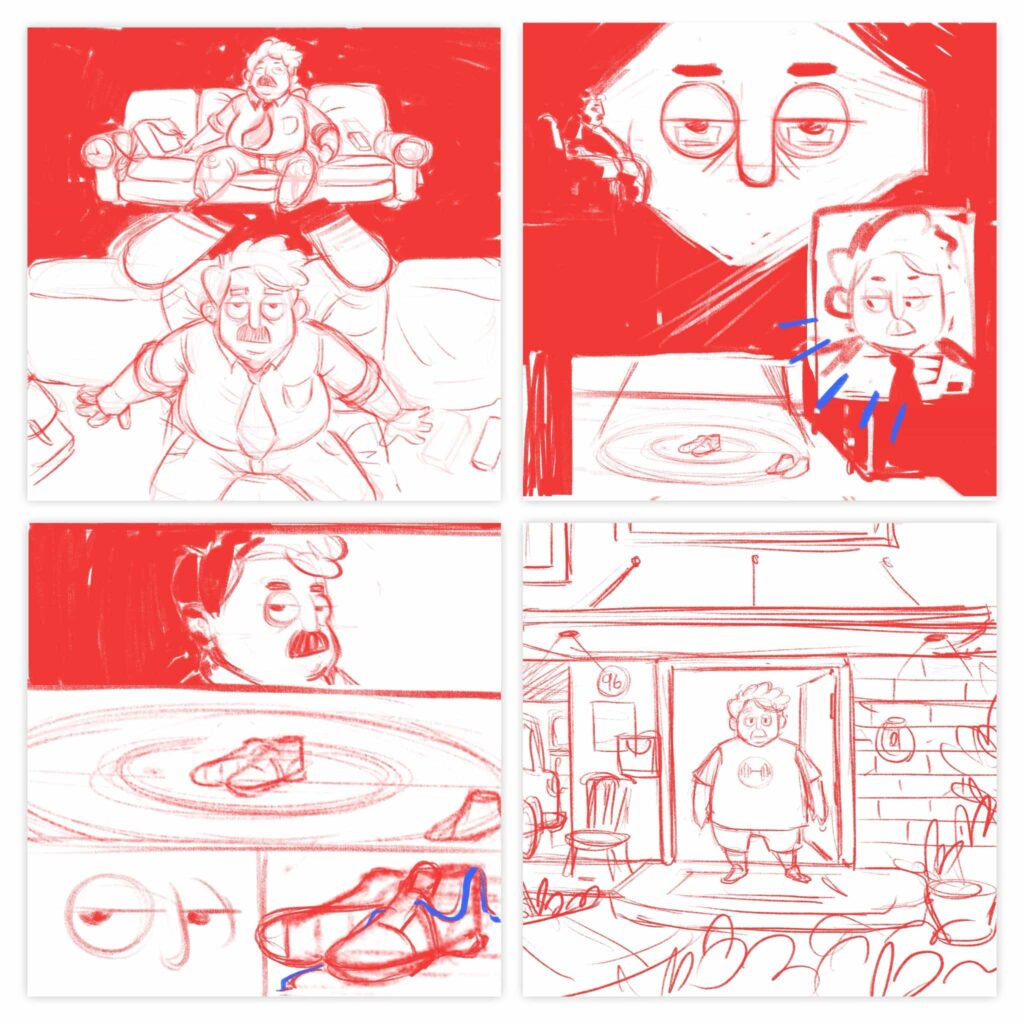
Thumbnailing is when I quickly sketch the rough layout of my comic. This is the stage where I block out the basic shapes, panel layout, along with composition of the pages.
I usually start with super rough thumbnails—just basic shapes to capture the movement and flow of the story. 😮
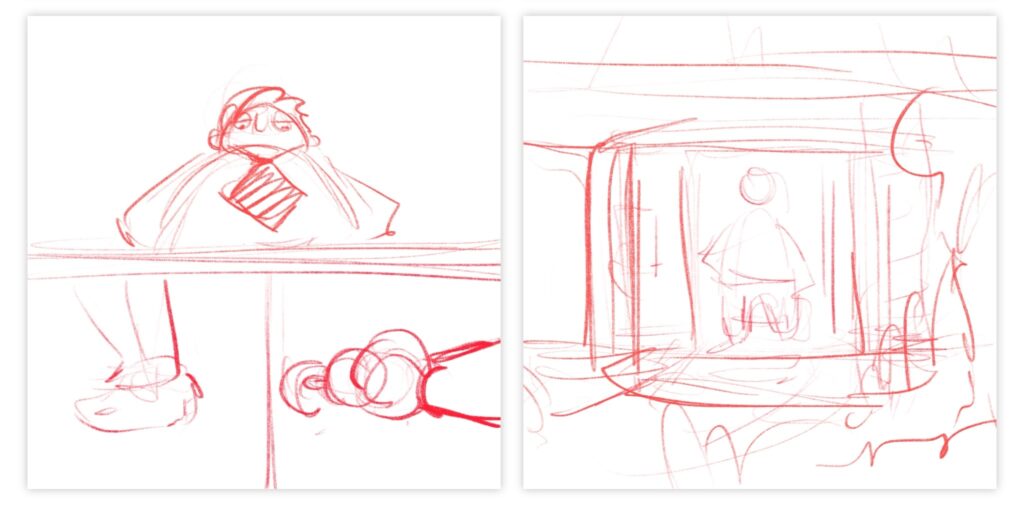
Don’t worry about perfection here. If you can’t draw exactly what you visualize, don’t stress! The point is to get your ideas down quickly and explore your character designs and story structure.
This is where you start thinking about paneling and composition—how each panel will emphasize the key moments in your story.
💡Pro TIP – keep it rough and block everything down with basic shapes and scribbles.
ALSO, I’ve just put out the first part of my 3 Part ‘Making Comics’ Series on Youtube. 🎥
Check it out. It covers all of this in depth 🙂
Step 4: Creating Your Character for Comics
Now, let’s talk about Character Design.
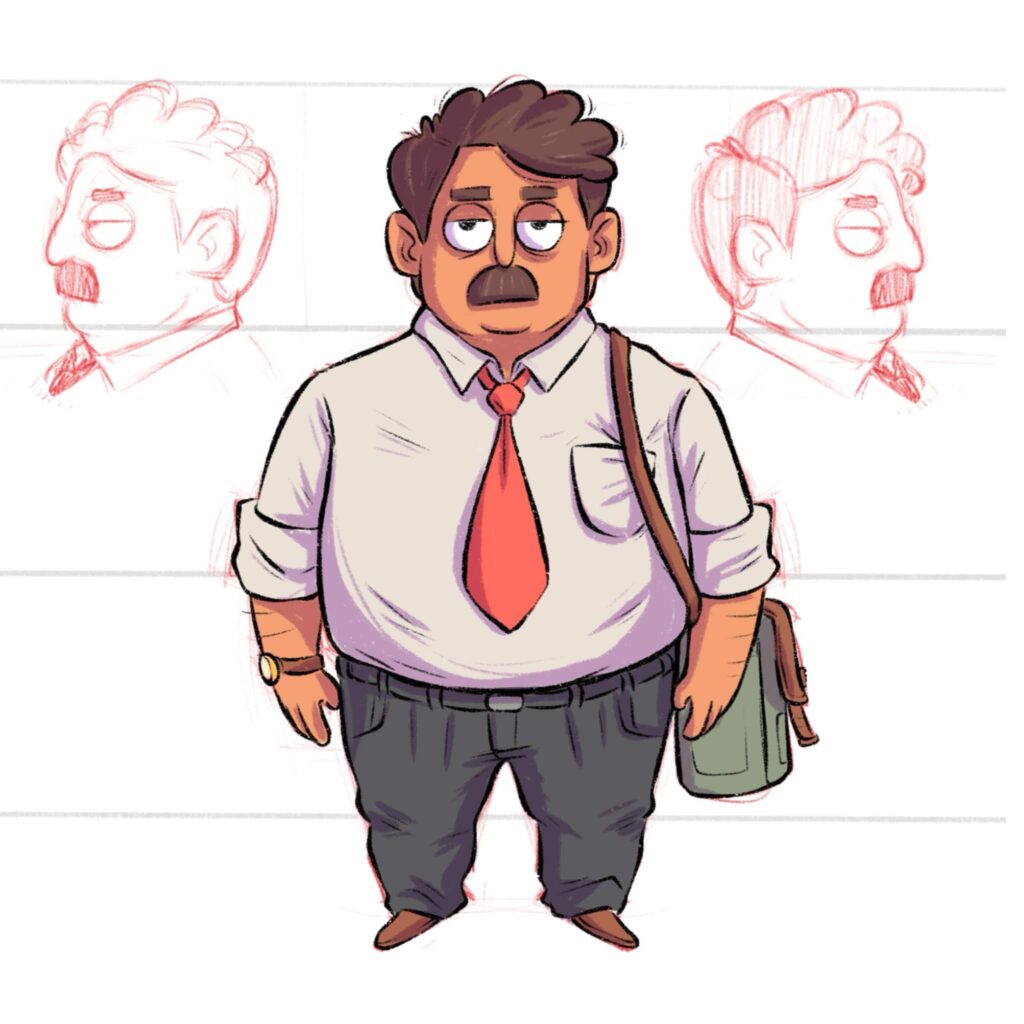
Here’s the thing – I wrote a whole book about this. (So here’s a super short version).
• Create an idea brief for your character (name, age, work, looks and purpose of existence).
• Create a Super rough thumbnail set with a whole bunch of variations.
• Research and fill your mind with visual inspirations.
• Construct your Character with Character Design Principles.
• Finally Ink and color it.
Step 5: Penciling and Wording
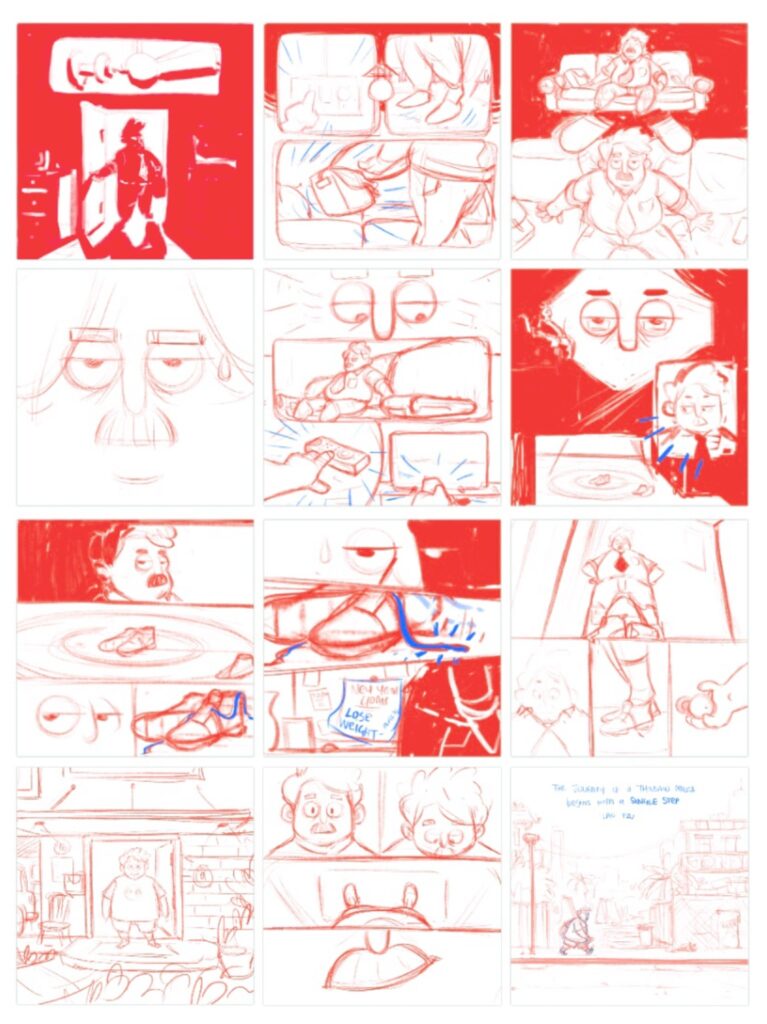
This is where you start adding in the details and create what we call “the Pencils” of the comic.
The goal of this phase is to flush out everything you can for your comic.
This is the part where you draw what you can, and figure out how to draw things you can’t using references. 🖼️
This is also the phase where you add your text bubble spaces and the speech that goes in it. This is key, don’t save this for later. 💬
Once done, your final pencils will look like this 👇
Step 6: Inking
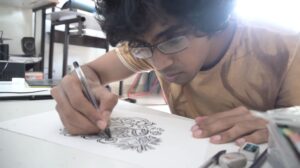
Once you are done with the pencils – This is the phase where you “ink” your comics. Aka create your final line work. 🖋️
I always use a brush pen for inking.
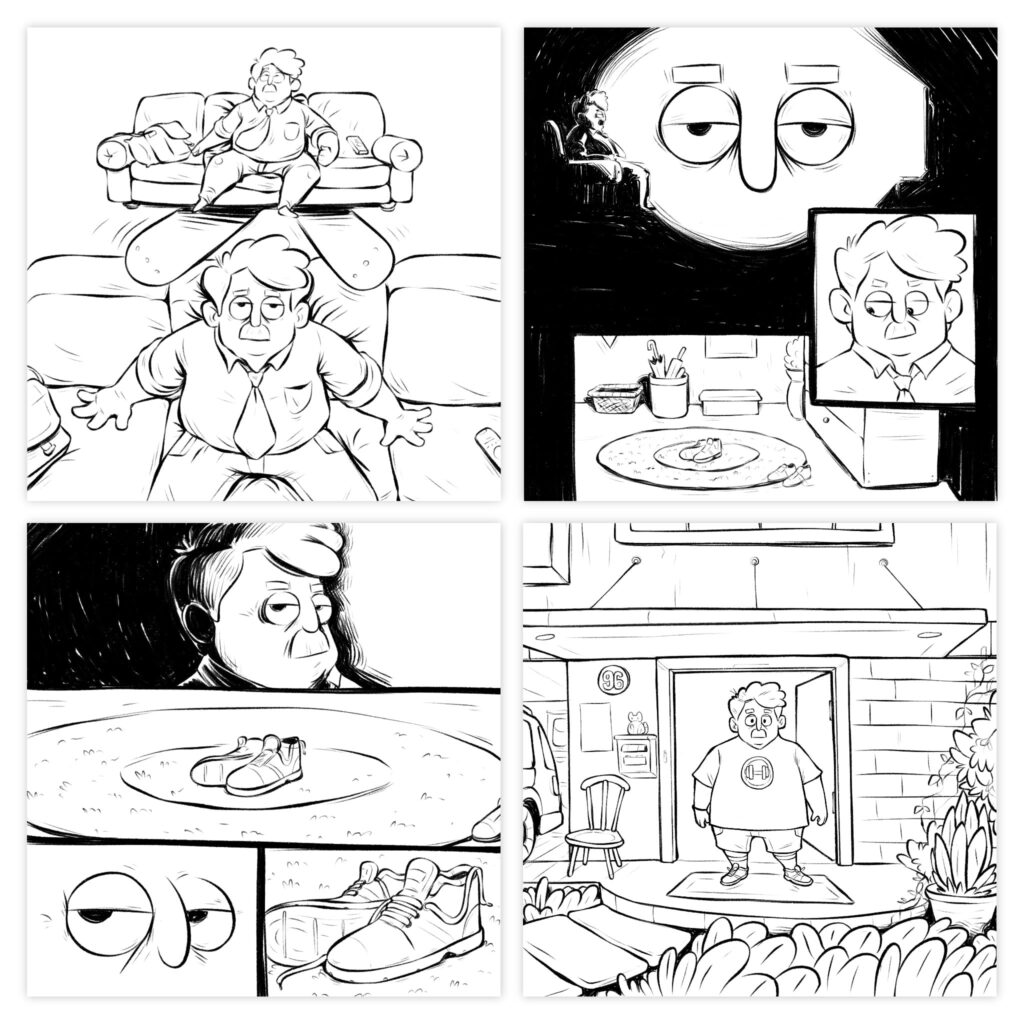
And I always vary the line weight to give a lot of depth to my line work.
Once this done, on to colors. 🎨
Step 7: Colors
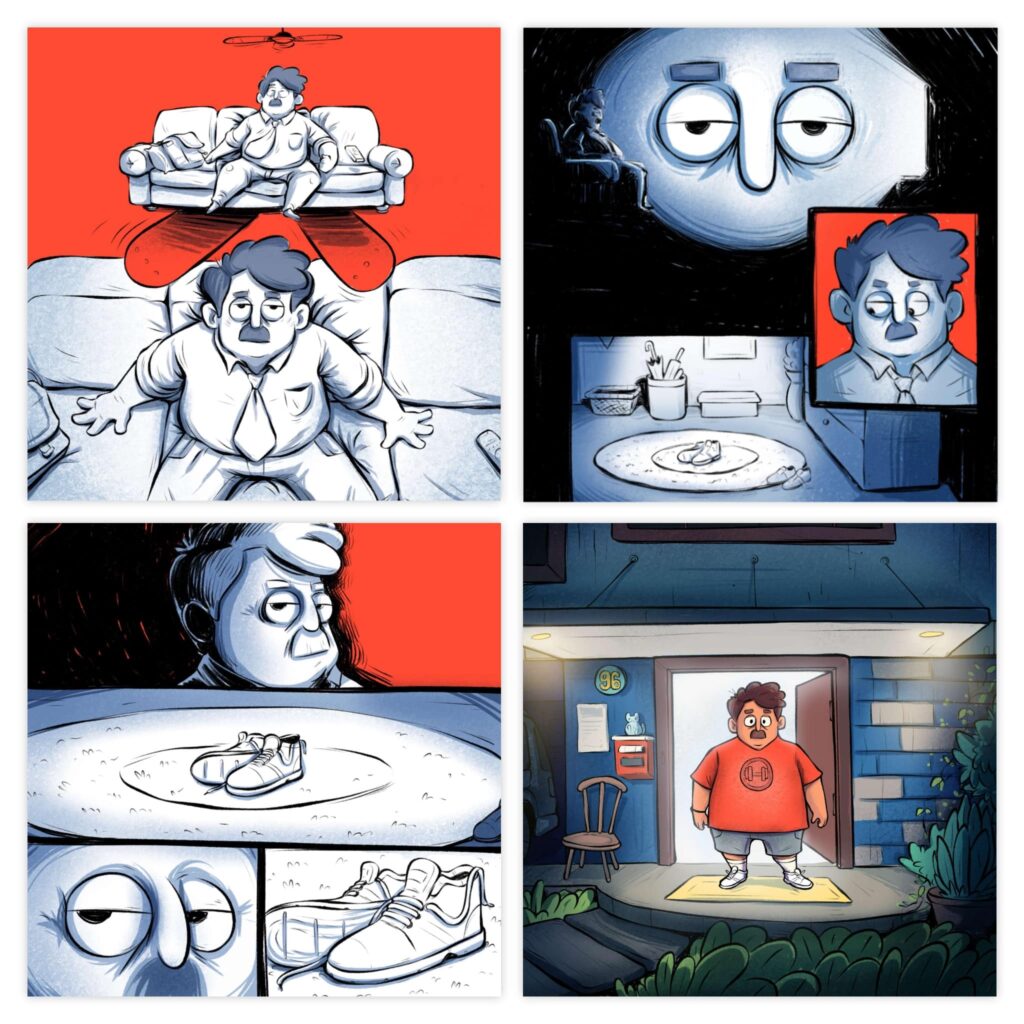
I use a very simple 3 STEP coloring process for my Comic.
1. Color the Flat colors.
2. Add a layer of shadows.
3. Add a layer of highlights and refinements.
That’s it!
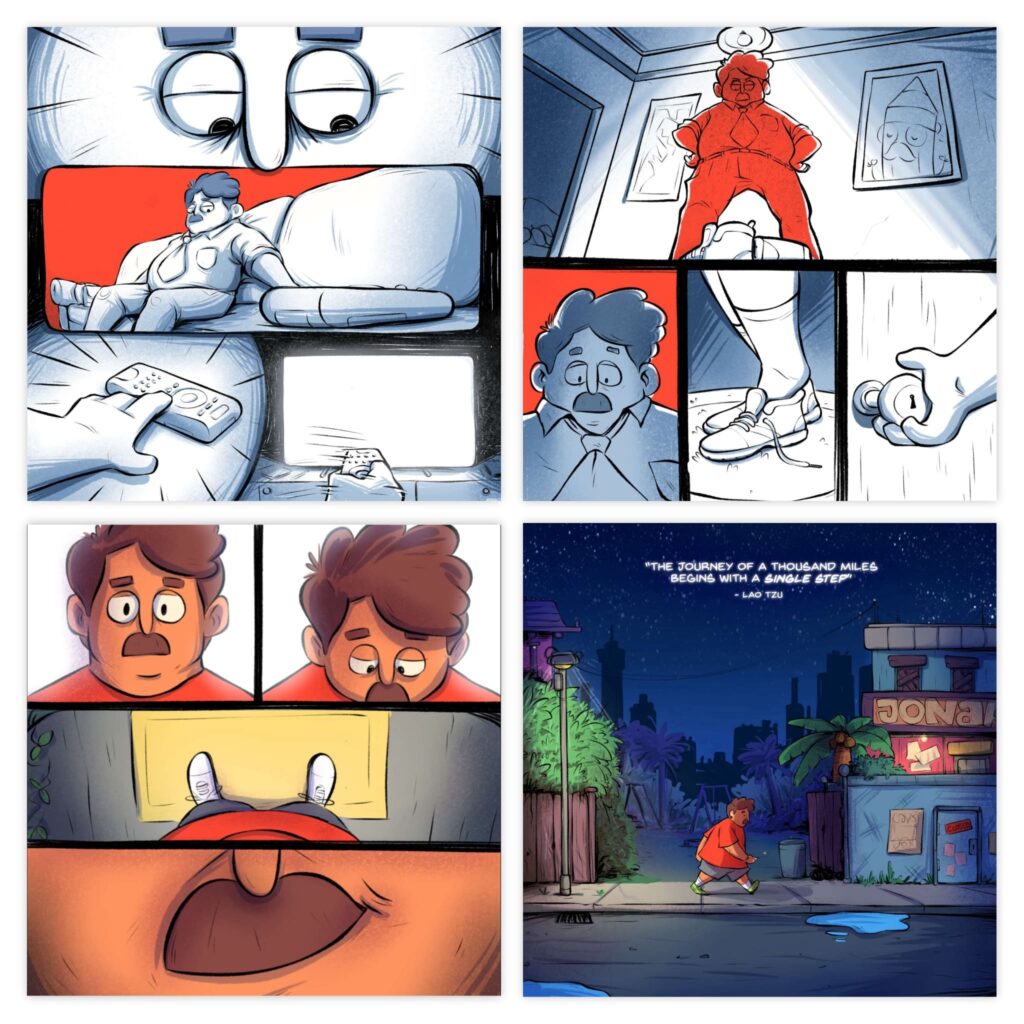
Step 8: Wrap up! And Print
This is the least interesting part of the process for me.
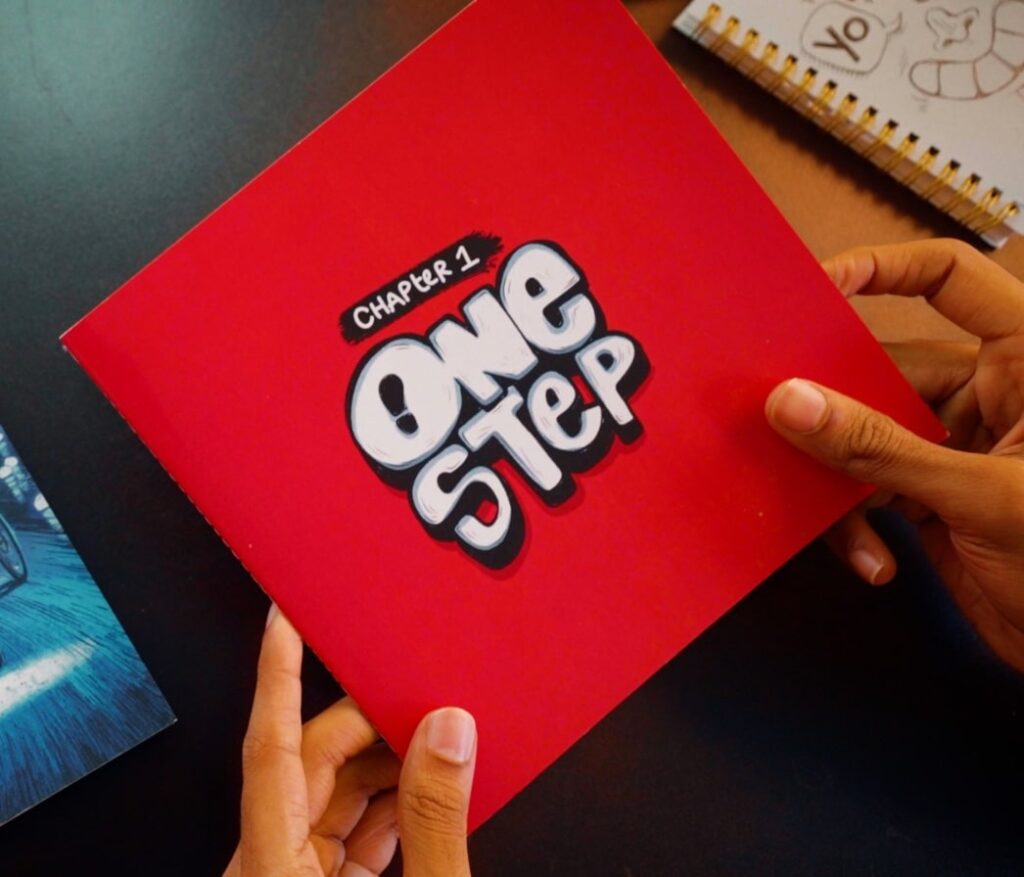
Because I just send the PDF of my comic to my local printers.
• Give them the size i want things to be printed it.
• The kind of stitching I want.
• Softcover or hard cover.
And boom, they send it over fresh off the press.
Now, if wanna make comics like this, it requires a huge set of skill sets of the right kind. Like..
✏️ Drawing Fundamentals.
😮 Character Design.
💀 Human Anatomy.
🔦 Light and shadow.
🎨 Color Theory and Practice.
🧠 Imaginative drawing and Stylisation.
😌 Creative Storytelling.
And if you are looking for ONE PLACE to learn them all,
’Drawing Camp’ is your answer. 👇
Ready to take your Drawing Skills to the Next Level in 100 Days?
Best,
Kesh.
